
Project Notebook: Bias-Cut Linen Pants
Notes from a quick summer sew

I’m constantly taking notes while sewing. I record key construction details, procedures, resources, and methods I used to make a garment. These notes help me successfully recreate it in the future, or help someone else working on the same project.
No matter the project, I always have notes, and because I sew most days, I have accumulated quite a lot of them. I thought it might be helpful to start sharing some here.
After finishing a button-up shirt and a shirt dress, I wanted a simple palate-cleanser project. I decided to make the Daughter Judy Highland Pants, a pair of bias-cut, wide-leg pants with an elastic-and-drawstring waist.
While I generally dislike this style of pants on me, I was intrigued by the bias-cut version and wanted to see how it would affect the fit and drape. I also noticed, from both the pattern samples and other sewists’ versions, that there wasn’t much gathering at the waist. That made me think the style might work for me.
I was also fortunate enough to visit Capital Fabric Supply in early July, where I saw a sample pair. Sadly, you can’t try on the samples anymore, but while I was there, I found the perfect linen for my own pair. So all the stars aligned to make these pants.
Overall, I found these pants fast and fun to sew. Although I like them and plan to wear them, I probably won’t make another pair—at least not yet. First, I want to see how much I enjoy wearing these.
Now, on to the notes, which I’ve polished and organized to make them easier to follow.
Pattern and Size
I chose a size Small after comparing the pattern pieces with my modified Friday Pattern Company Saguaro Pants to get a sense of the overall proportions. The size Small looked fine.
I skipped making a muslin because I didn’t have any suitable test fabric, and the fit looked very forgiving.
I wanted to start immediately, so I printed the pattern at home, minus the pocket piece. I definitely didn’t want a pocket interrupting the bias lines or showing through the fabric.
There is no pattern piece for the drawstring. I found its dimensions in the instructions and calculated a width of 1” based on the recommendation to use ¼” double-fold bias tape.
Cutting, Marking, and Fusing
I washed the linen in cold water and dried it in the dryer using the no-heat air-dry setting.
I pressed the fabric before cutting, although it didn’t really need it, and squared the cut edge. I also chose a right and wrong side, using the smoother side as the right side, and marked the wrong side with chalk.
I had to track down the cutting layout. It was published on Daughter Judy’s Substack, along with a note that it would be added to the pattern. Important!
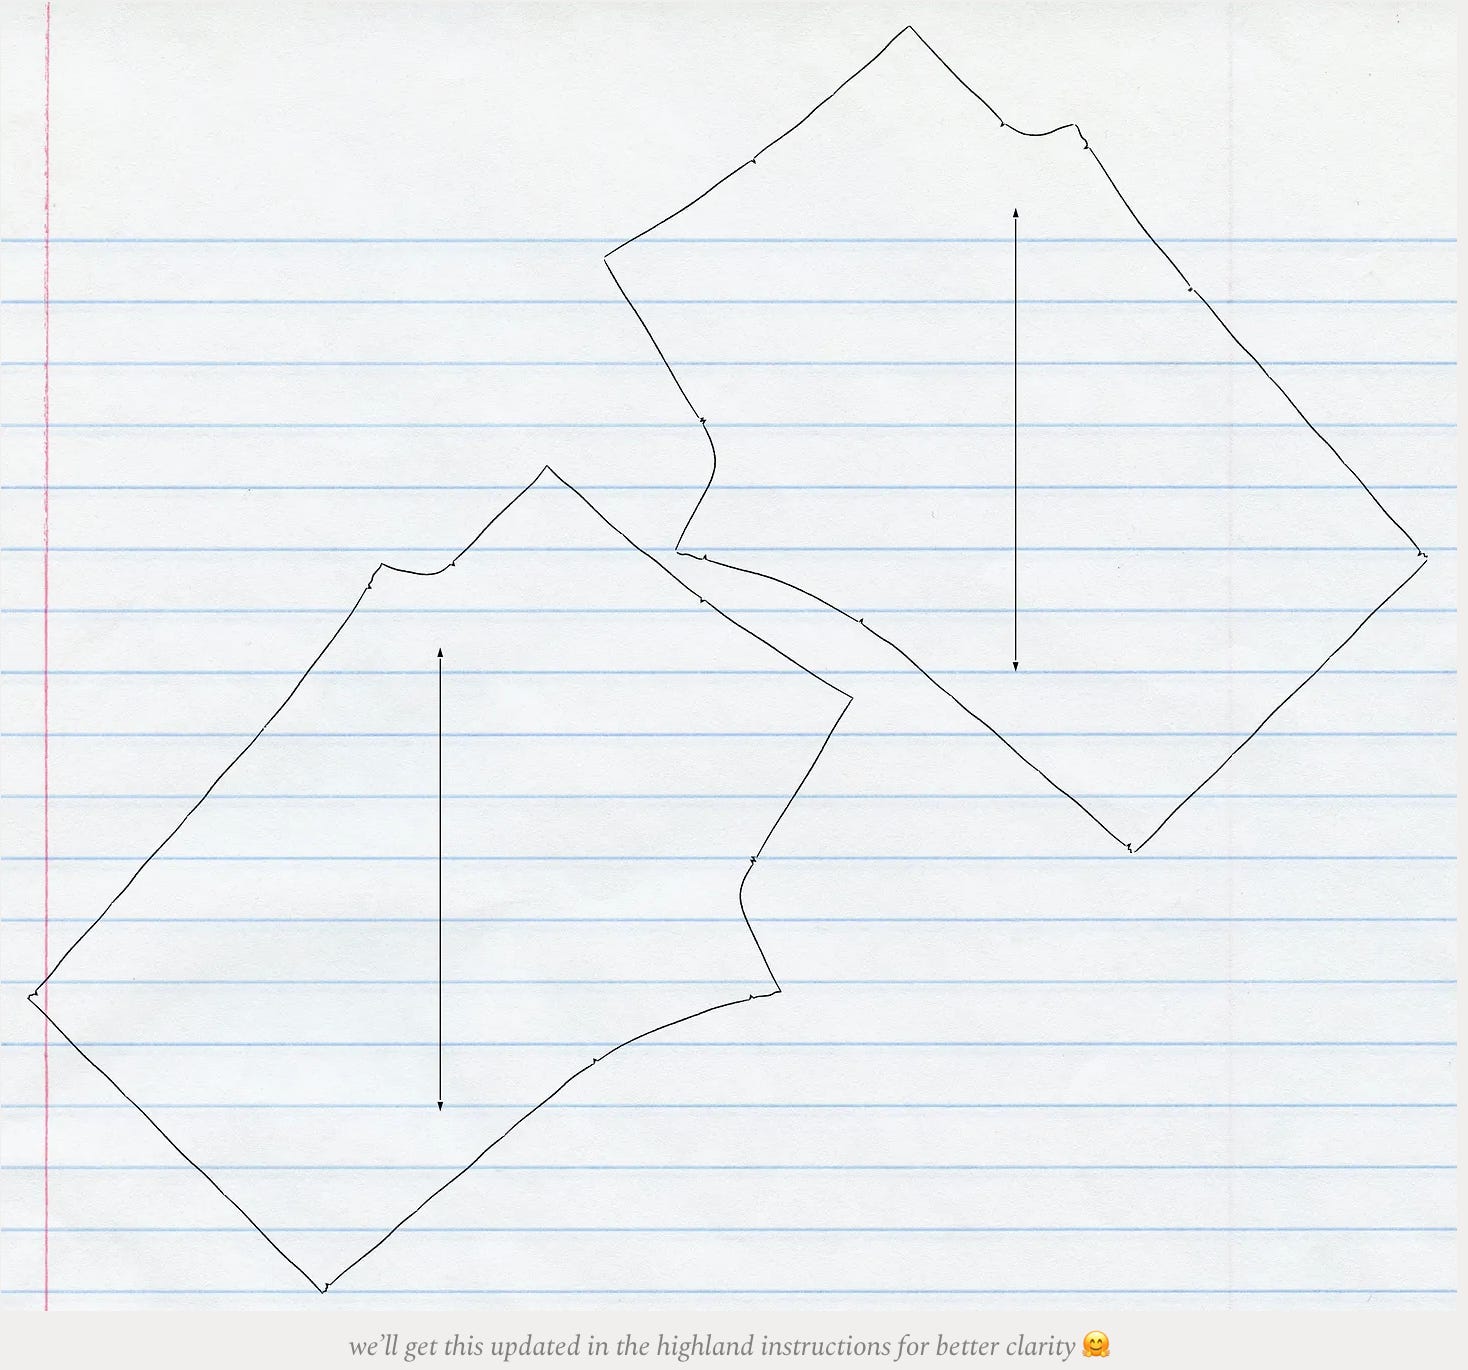
For the drawstring, I cut two 30” long, 1” wide bias strips and sewed them together. The strips fit neatly below the hem of the upper pant pattern piece.
I fused small circles of tricot interfacing underneath the buttonhole markings.
Sewing and Pressing
Needle and thread: Gütermann Mara 100, color #23, with a size 80 sewing-machine needle. I used black serger thread.
Machine settings: I used the mid-weight woven setting on my B735 PRO for stitching and a combo stitch with the right-hand needle on my L890. The combo stitch handled the bias beautifully.
Iron setting on linen.
Construction
It was helpful to staystitch the waist at ¼” because this edge is turned under when making the drawstring casing.
I made the buttonholes before joining the legs. This made it much easier to achieve the horizontal orientation without a seam getting in the way.
I needed to make the drawstring first so I could determine the correct buttonhole size. The pattern calls for a ½” buttonhole (marked on the pattern piece), but that seemed large for a ¼” drawstring.
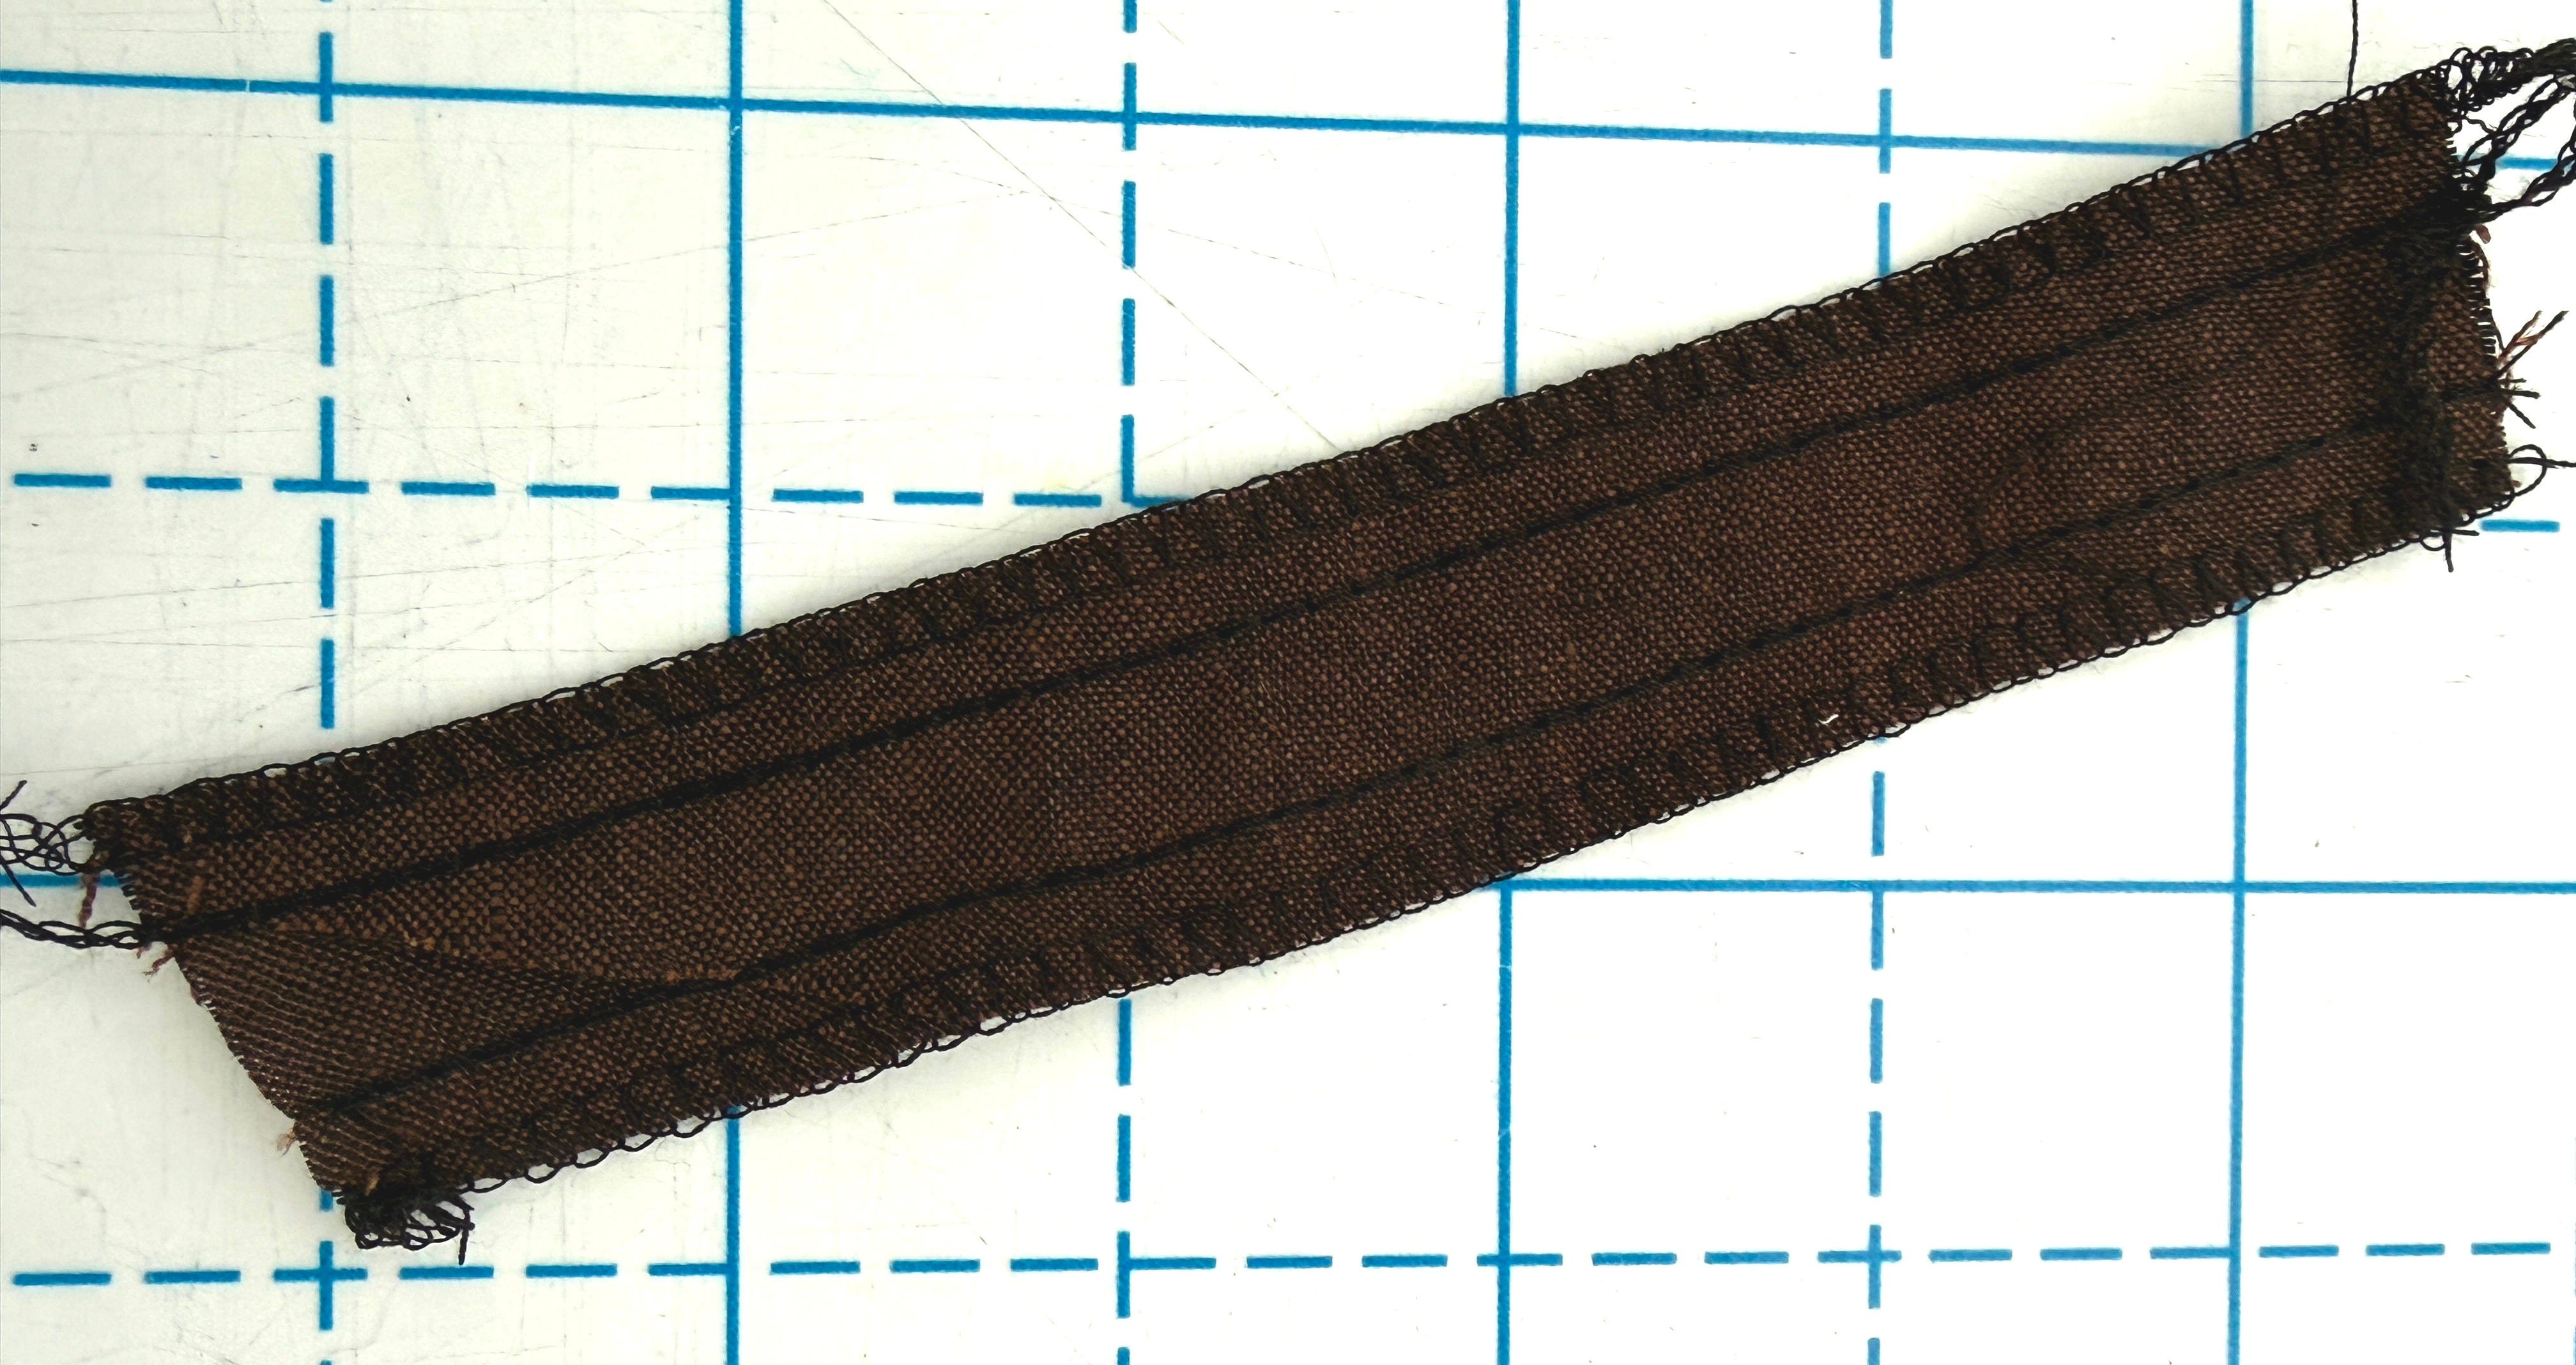
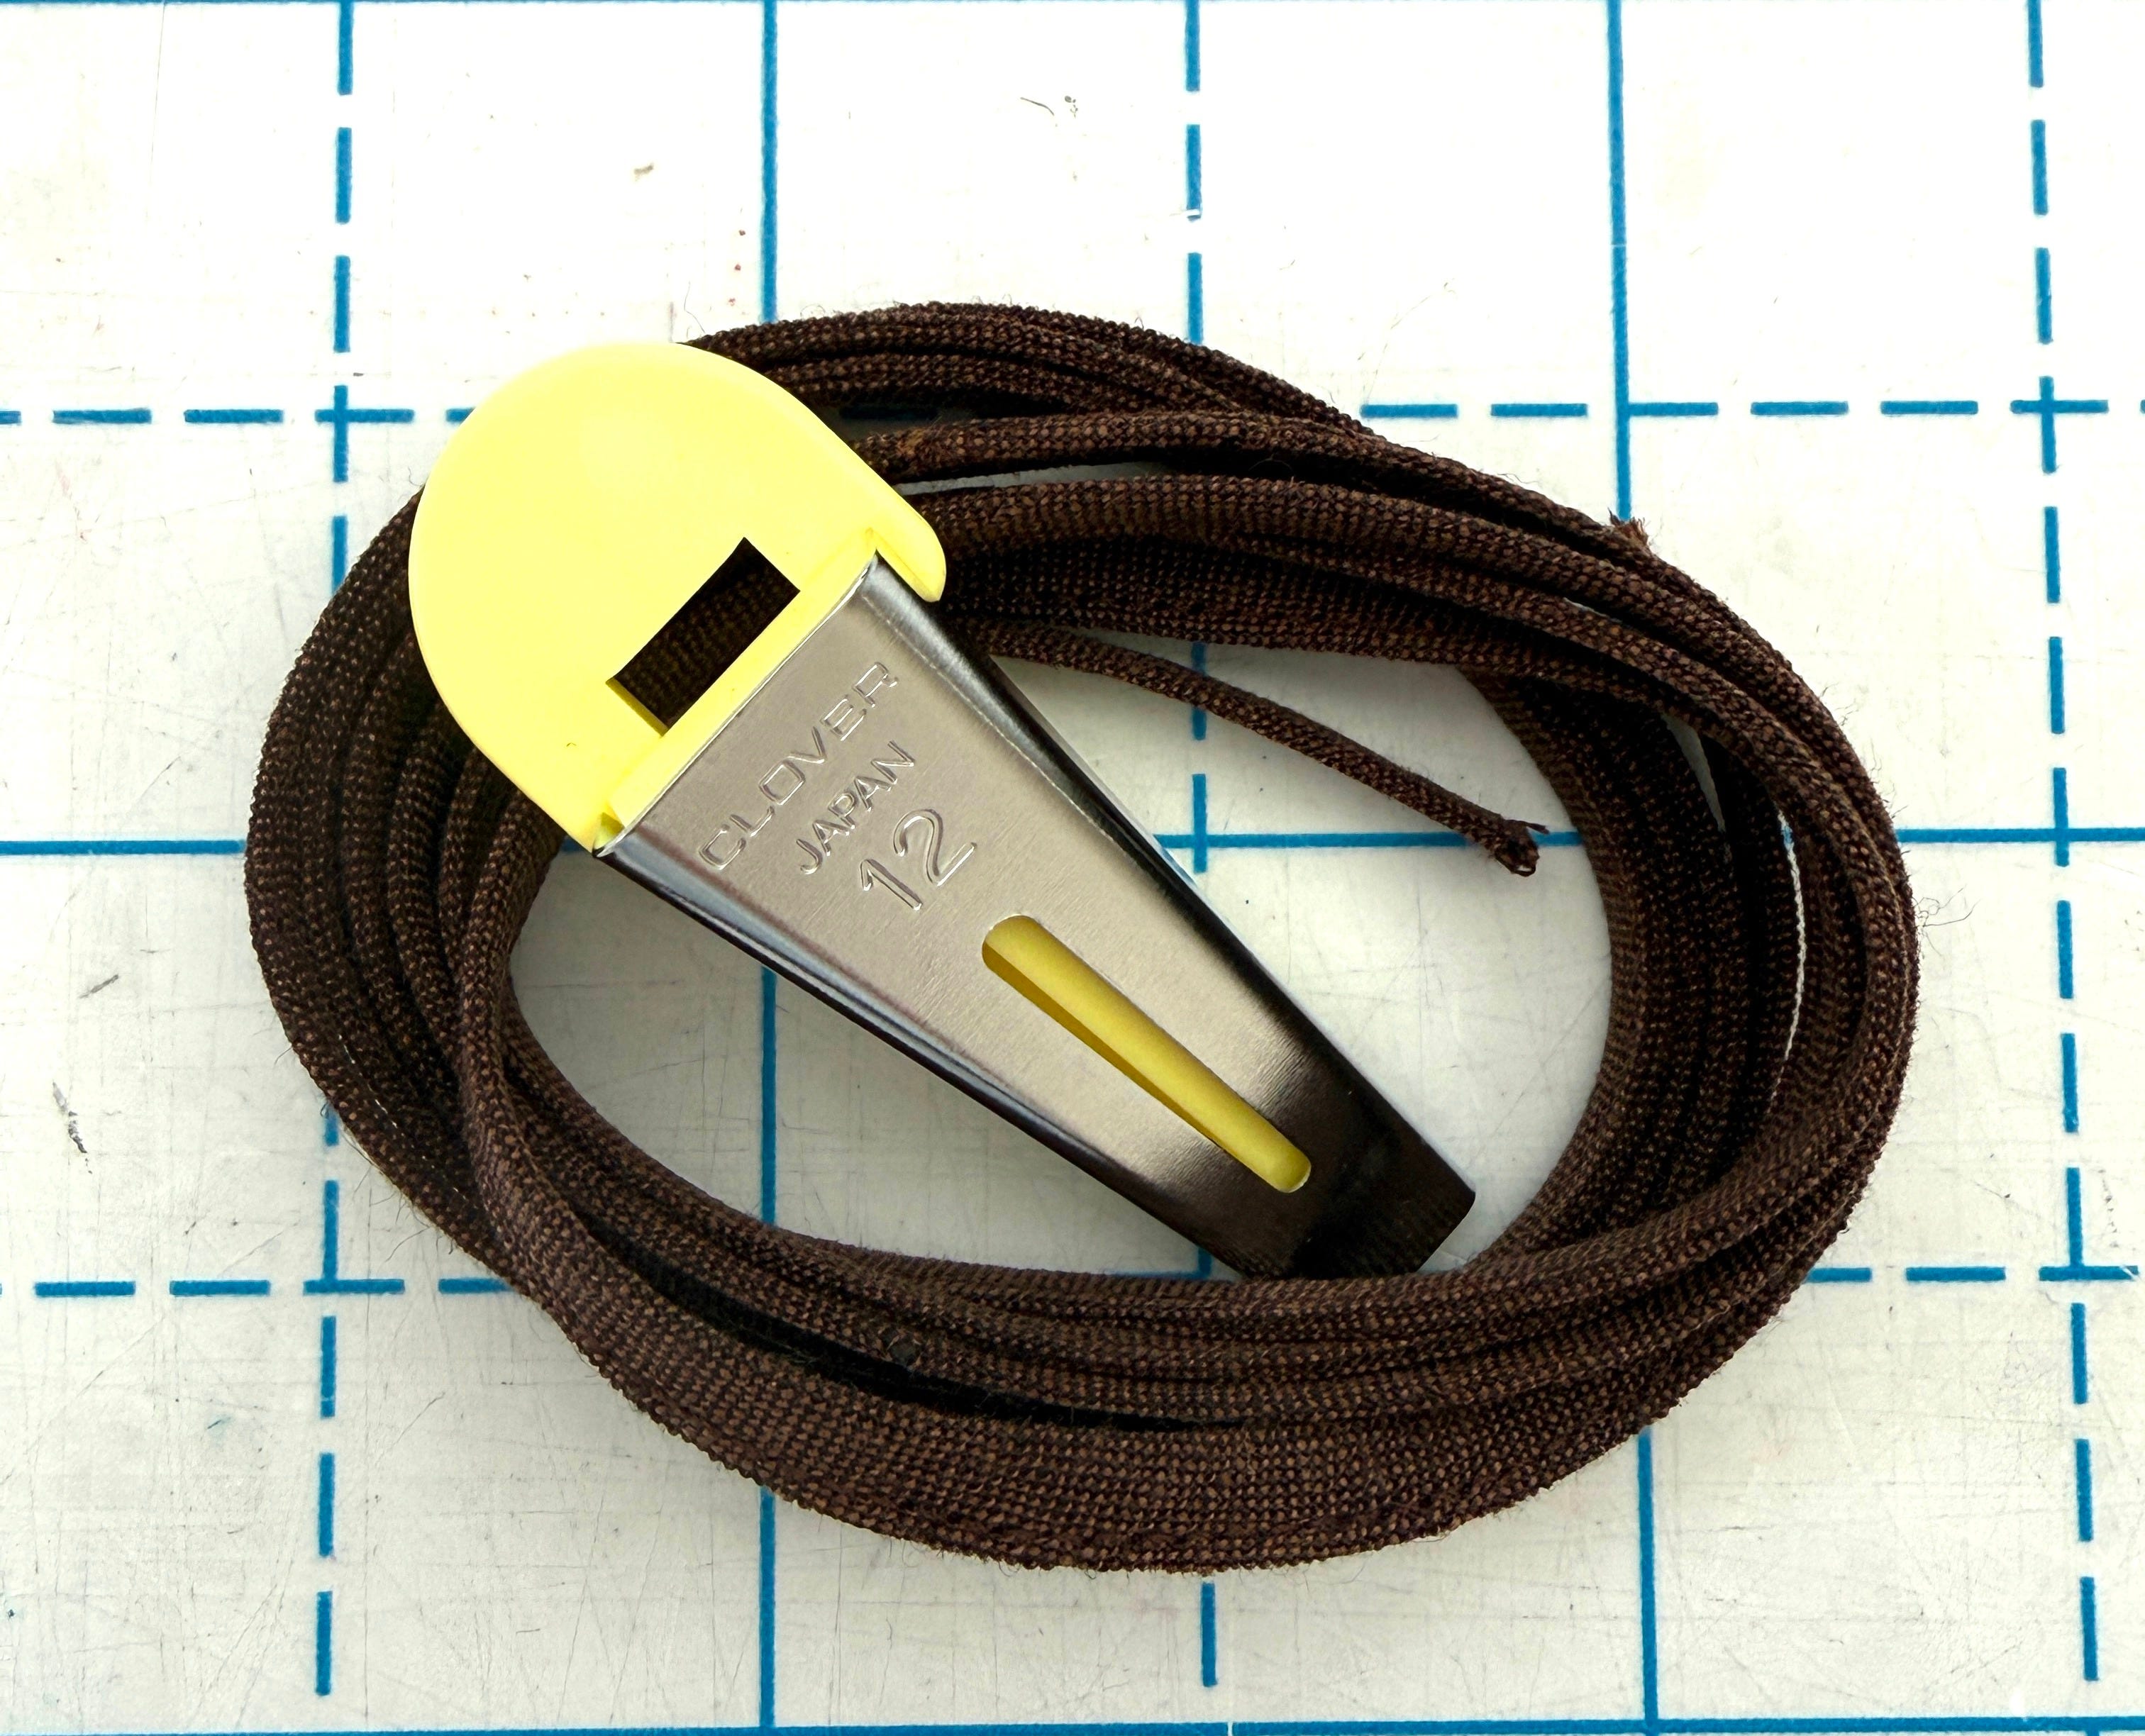
I made the drawstring using a Clover #12 bias-tape maker, then folded the tape in half to achieve the prescribed ¼” width. I used Edgestitch Foot #10 to topstitch the layers in place.
I skipped turning under the ends because I didn’t want to drag that extra bulk through the casing. I may knot the ends instead so the drawstring won’t slip inside the casing in the wash.
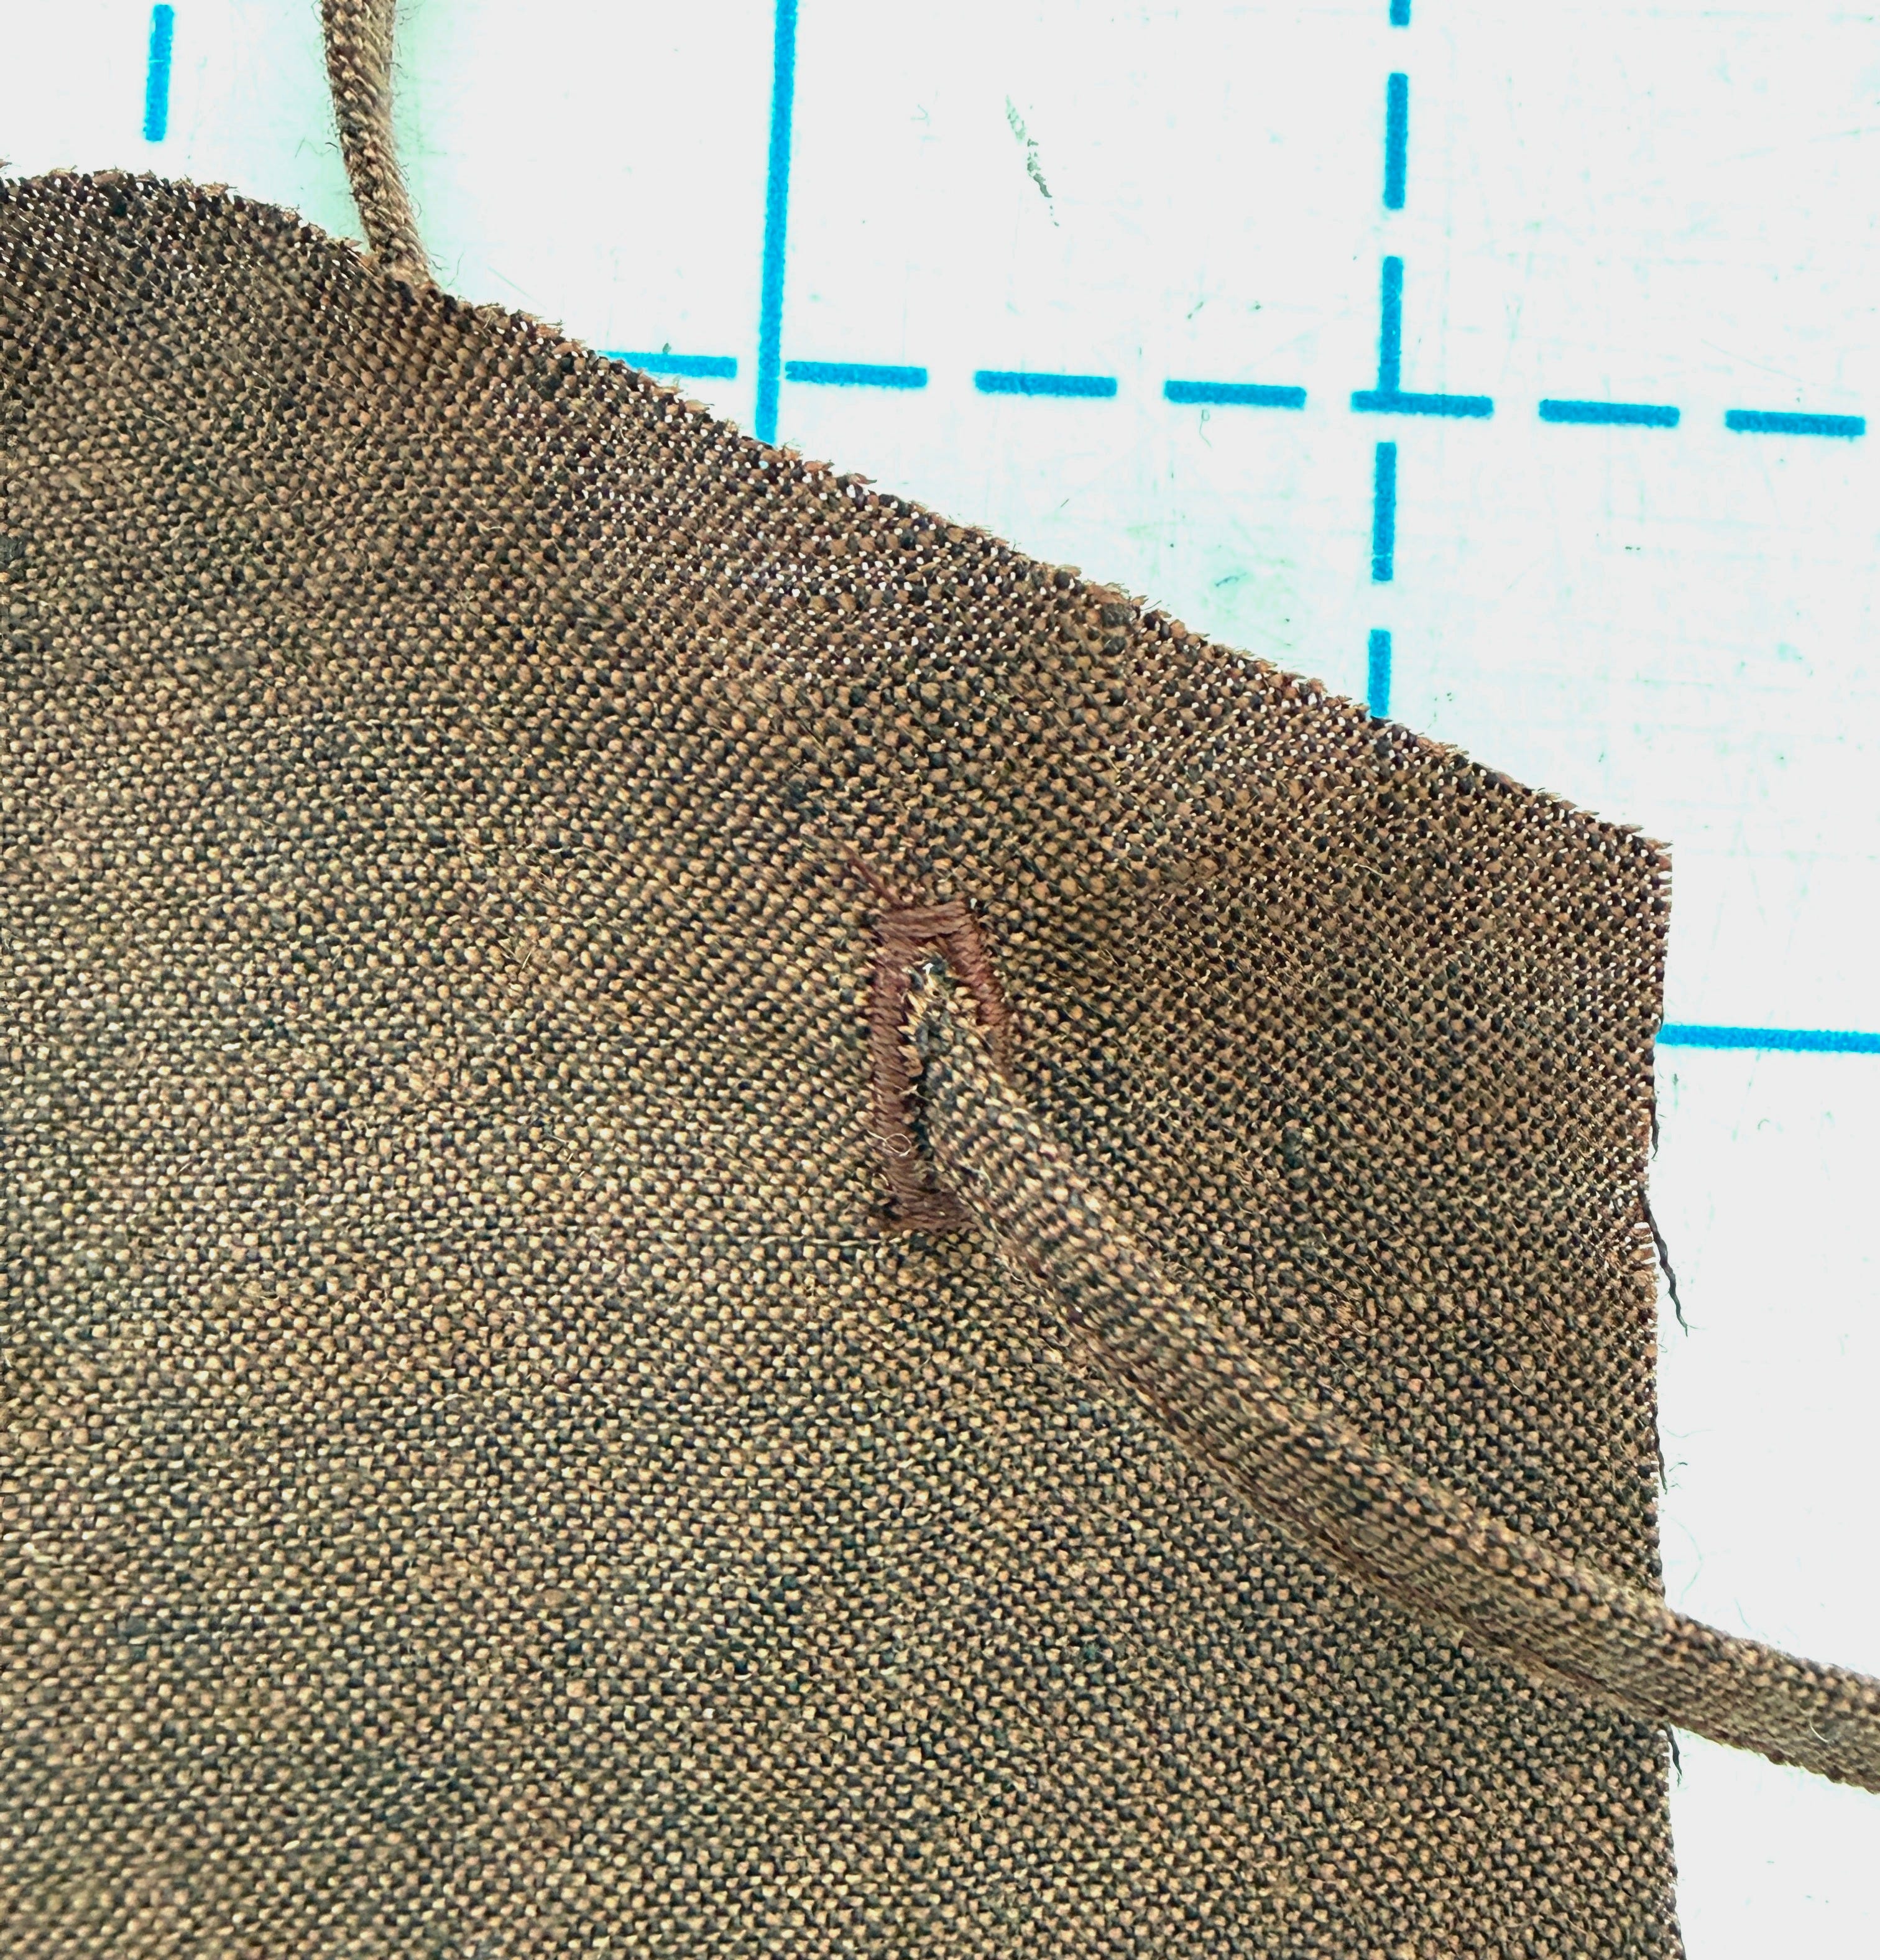
I ended up making a 10 mm buttonhole using Automatic Buttonhole Foot #3A with buttonhole stitch #51. The drawstring slides through nicely.
I triple-checked that the buttonholes would be even from side to side. I had marked both sides, but to be certain, I chalked one side, aligned the pieces, and transferred the chalk mark to the other side. Then I measured both sides again.
I loved being able to seam and overlock in one step with the serger. I was careful to keep the entire garment supported on the machine bed while sewing.
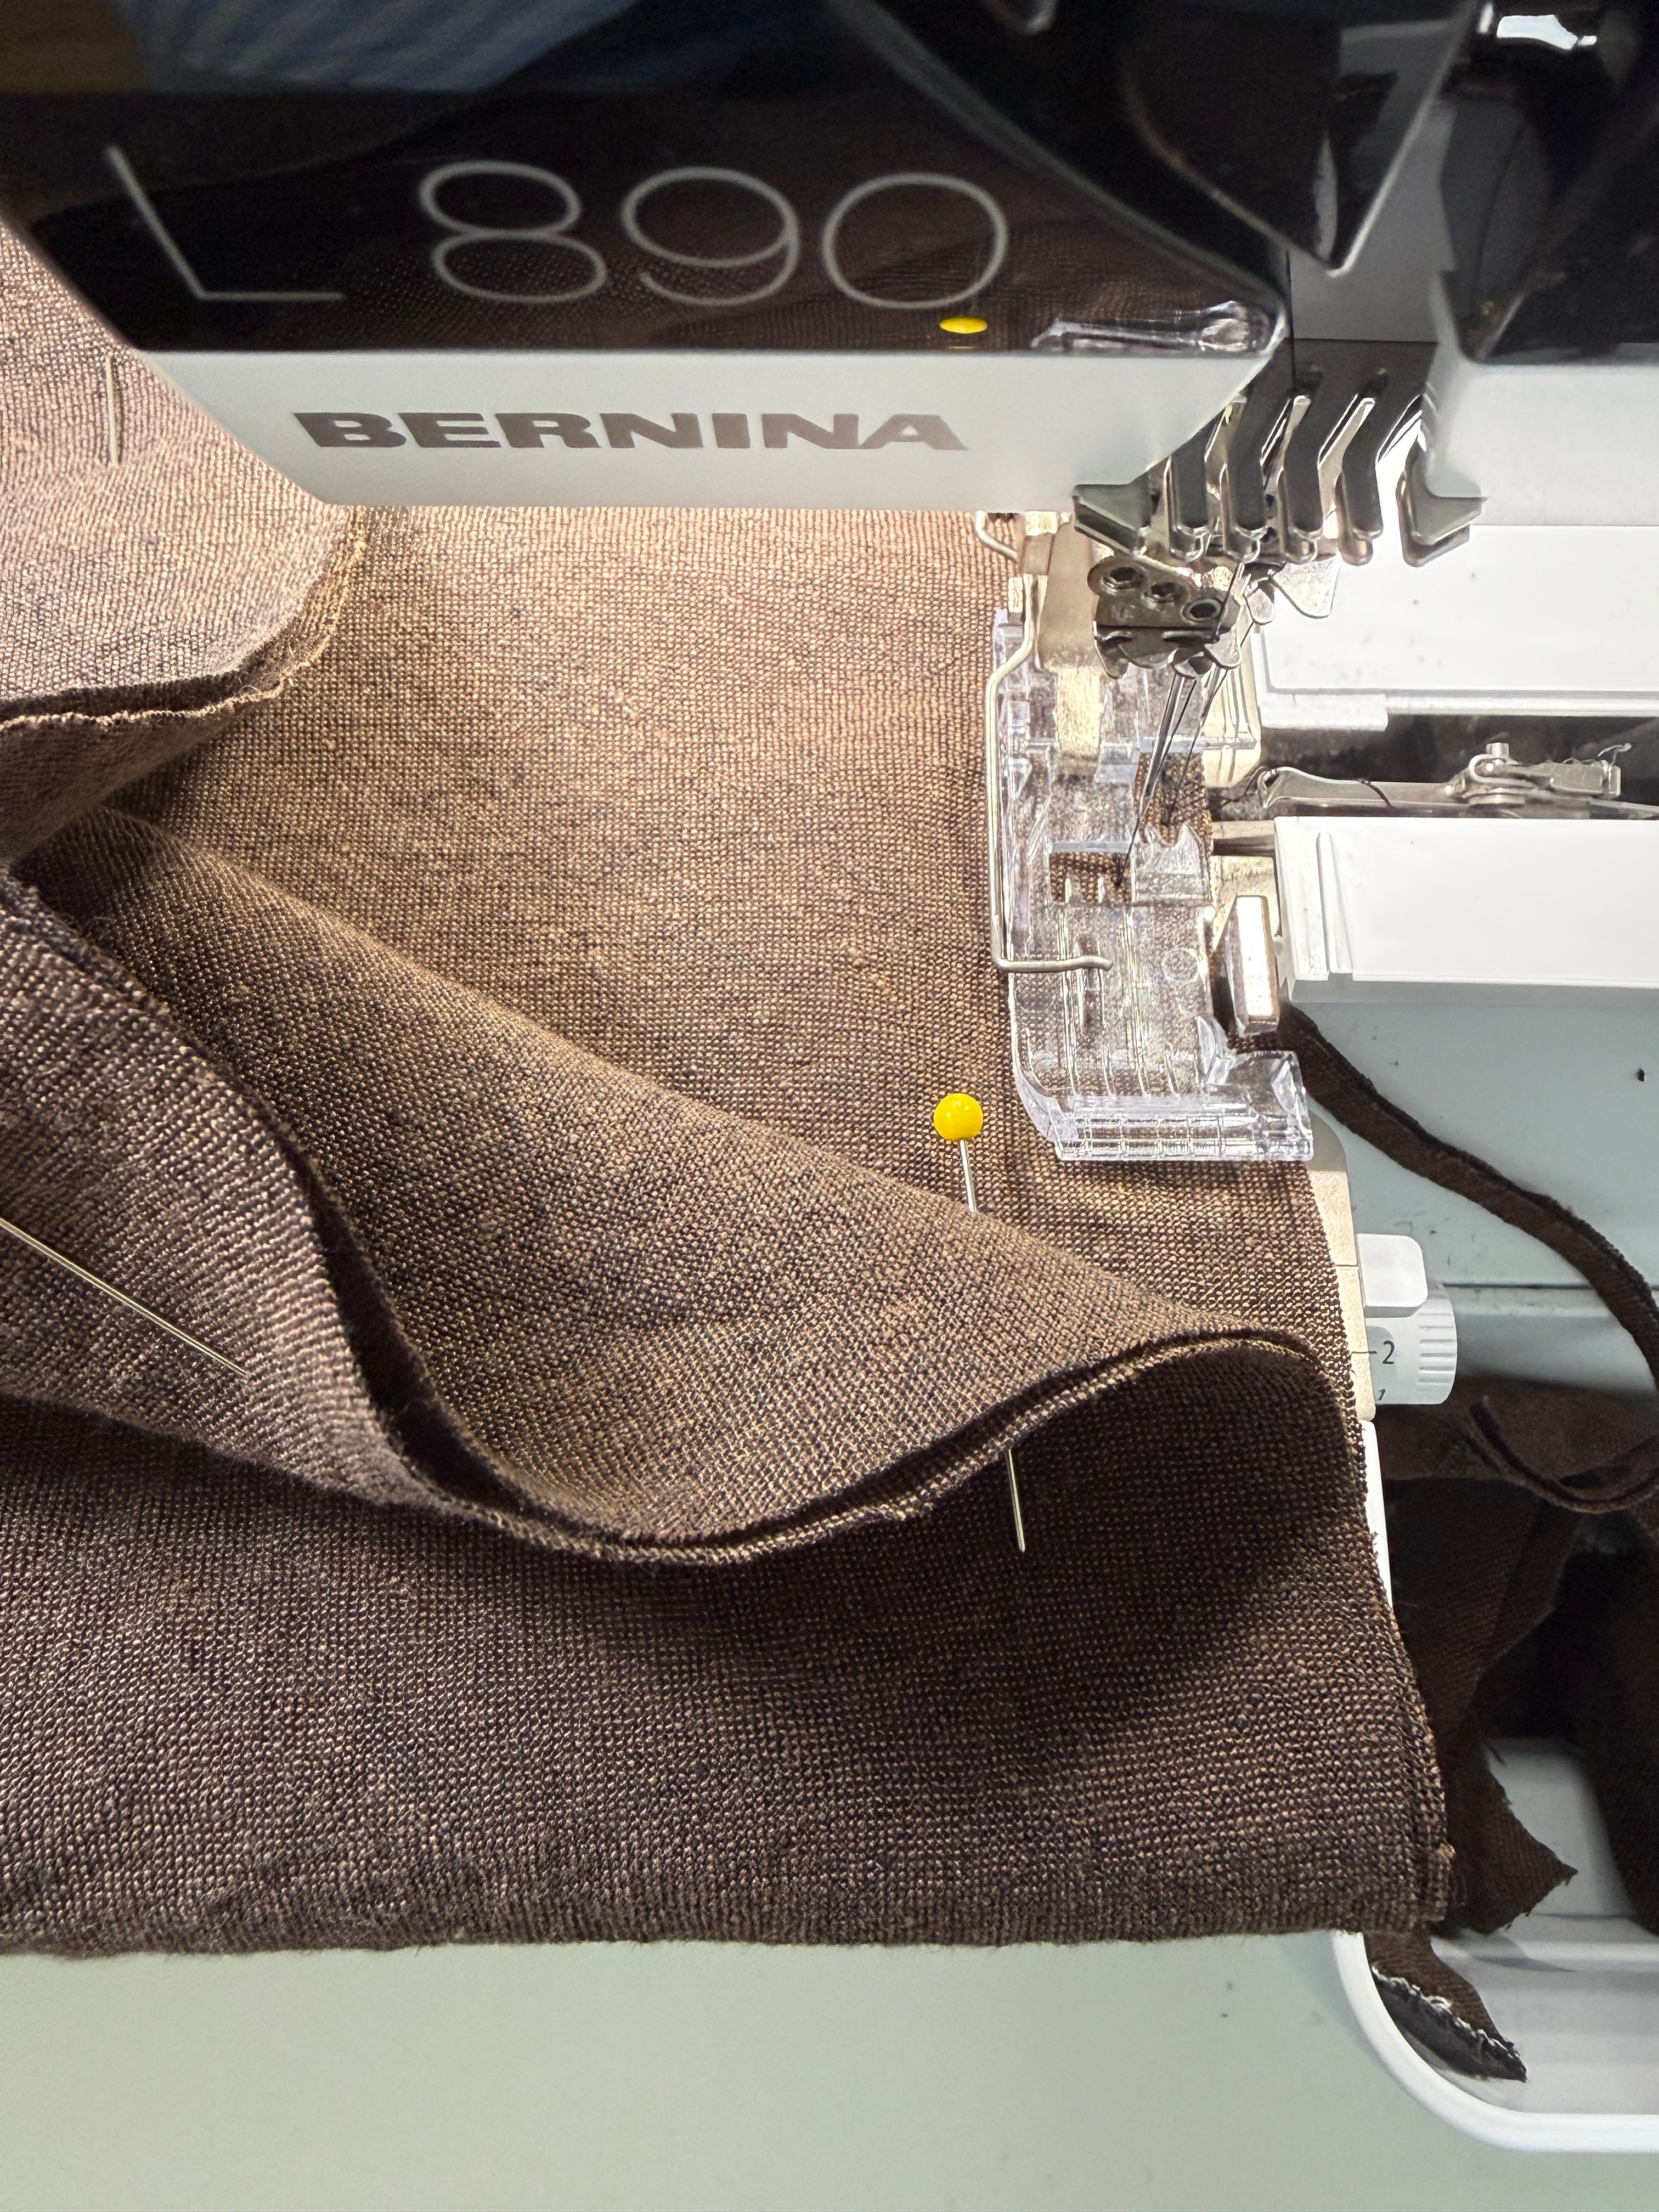
This is my least-favorite elastic-casing technique, but it was likely necessary because of the bias cut. The inside could be neater. I should have hand basted the casing first instead of relying only on pins. Still, it looks great from the outside, and all the raw edges are enclosed, so I’m moving on!
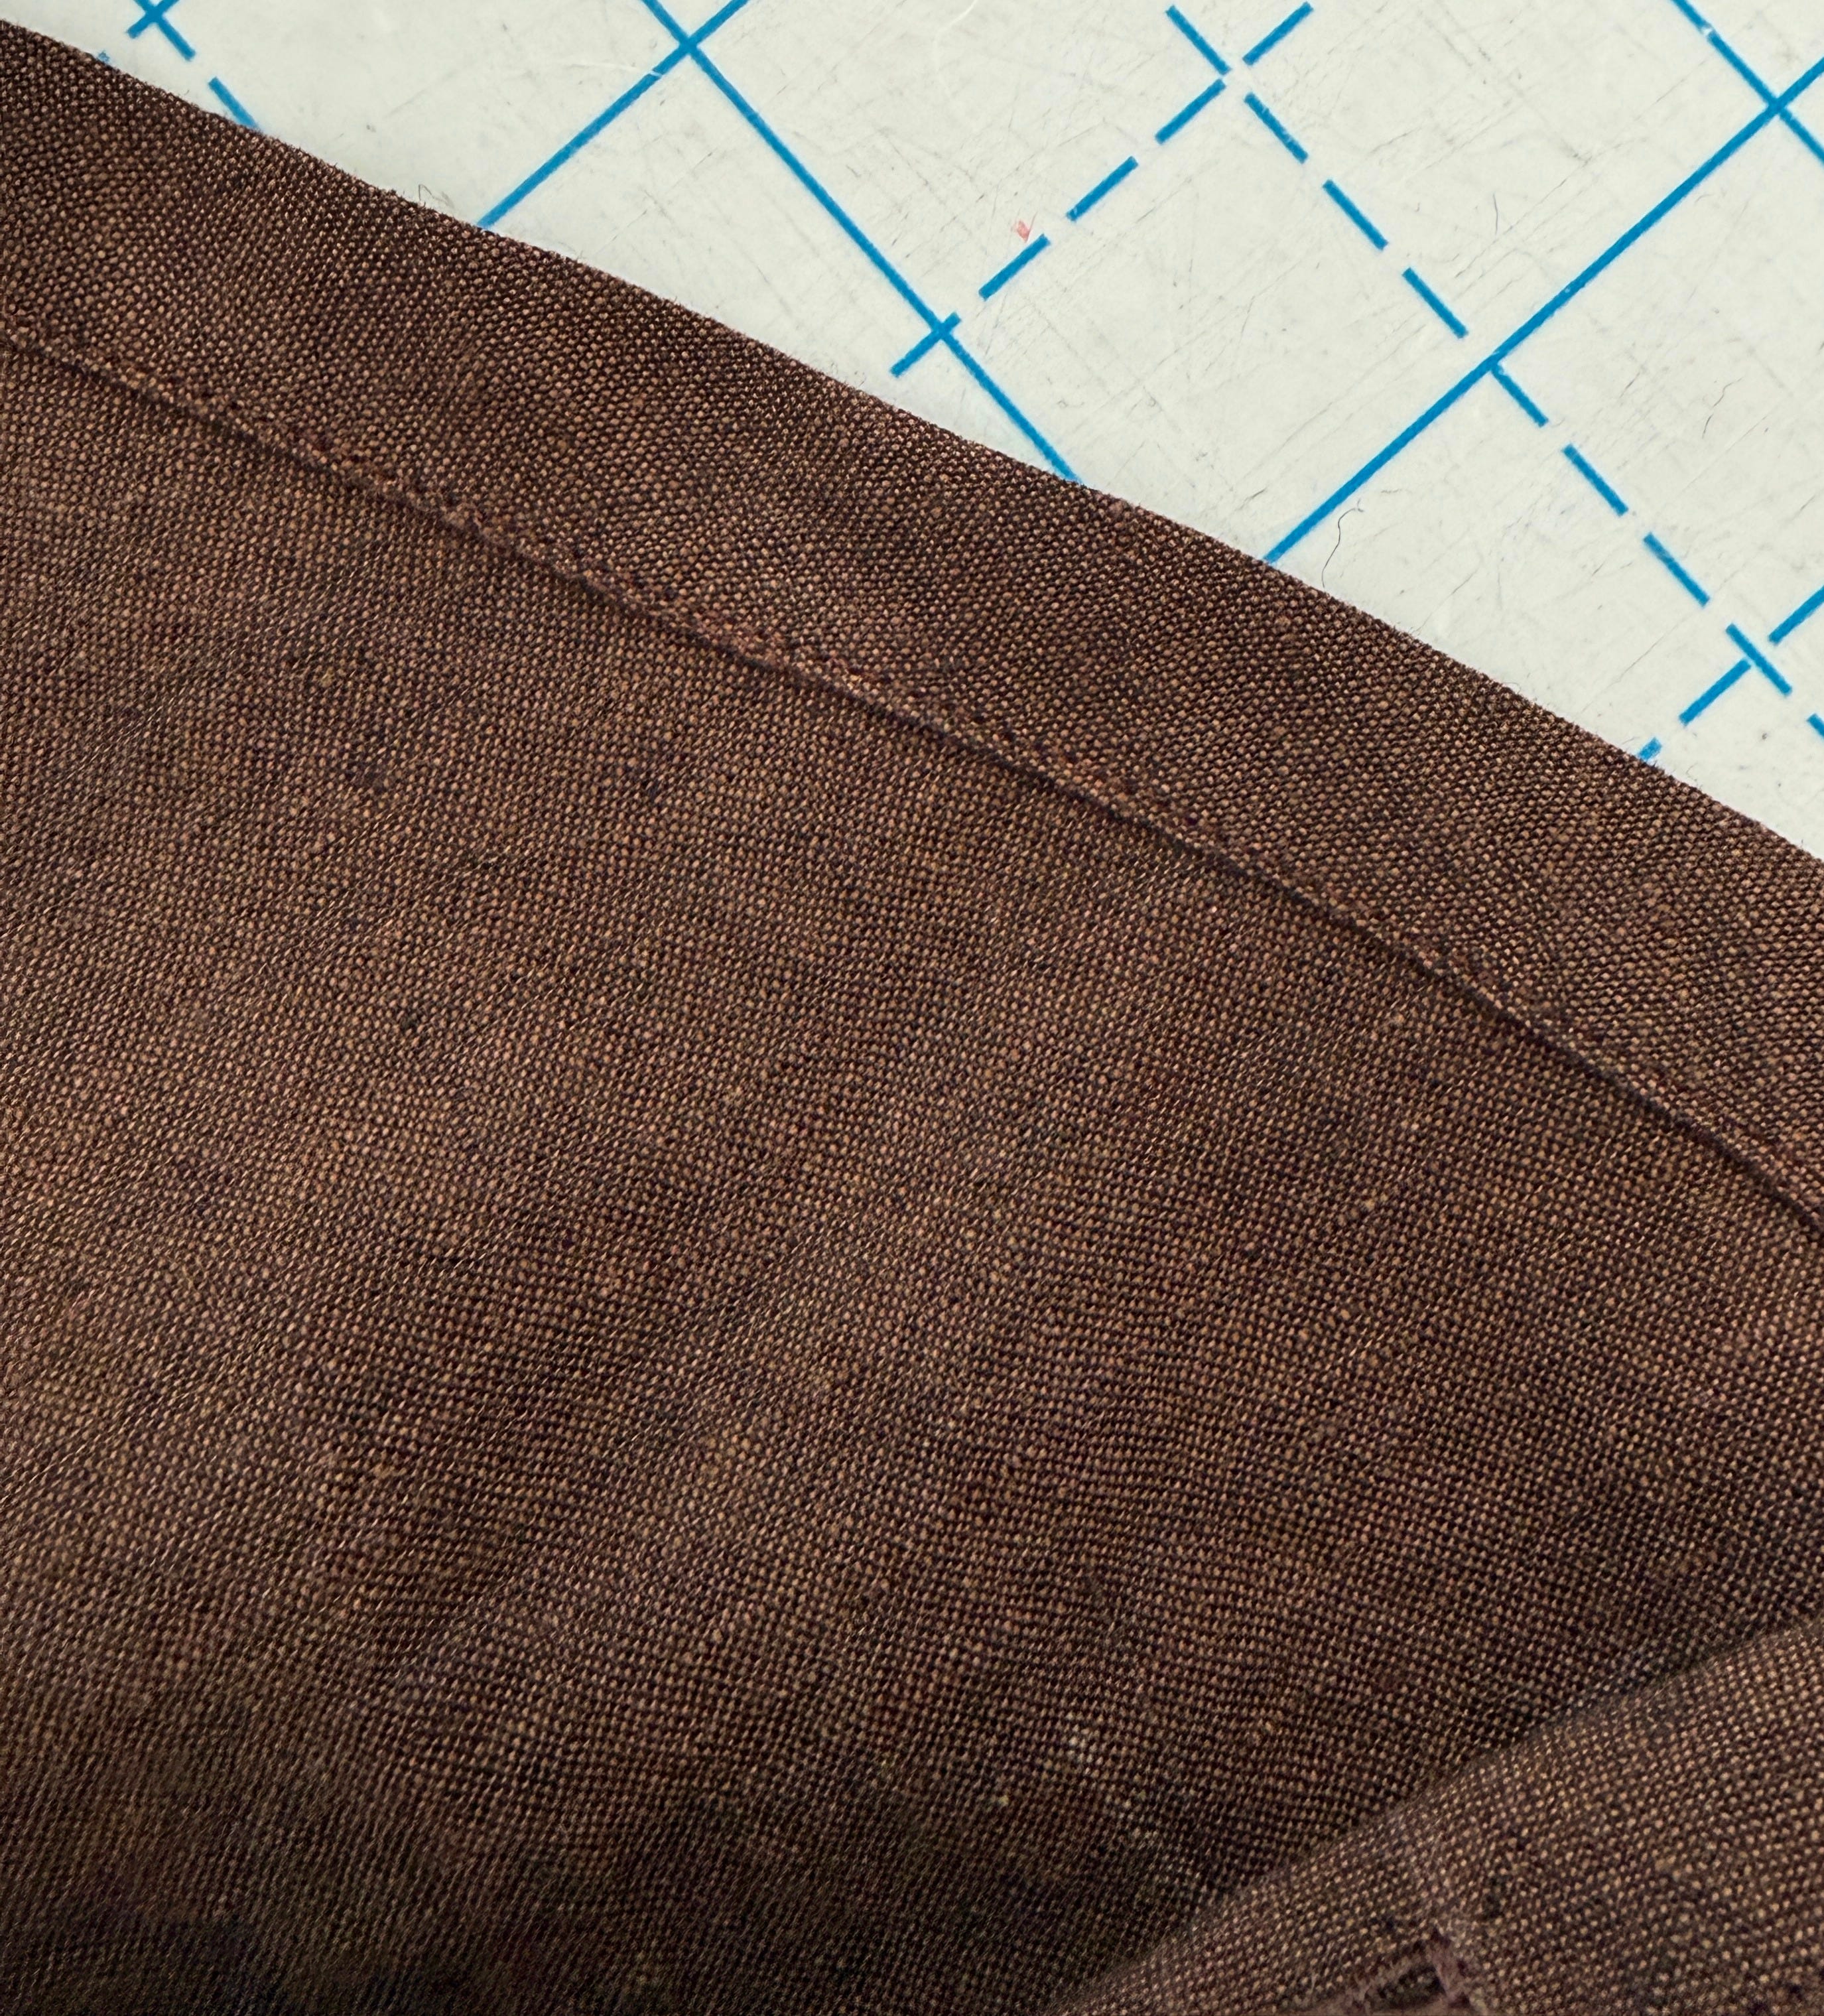
I cut the elastic at 28 inches rather than 27 inches so I would have more room to overlap and sew the ends together. Tested this out in the pants before committing.
After threading the elastic then the drawstring through the casing, I distributed them evenly and made sure the elastic wasn’t twisted. Then I stitched in the ditch in the center front and center back seams to keep the elastic flat. There are no side seams where I could do the same, so hopefully those two points will be enough.
I needed a 1-inch hem to achieve a floor-grazing length. I pressed the full inch up, then turned the raw edge under by ½ inch and pressed again. I stitched close to the folded edge.
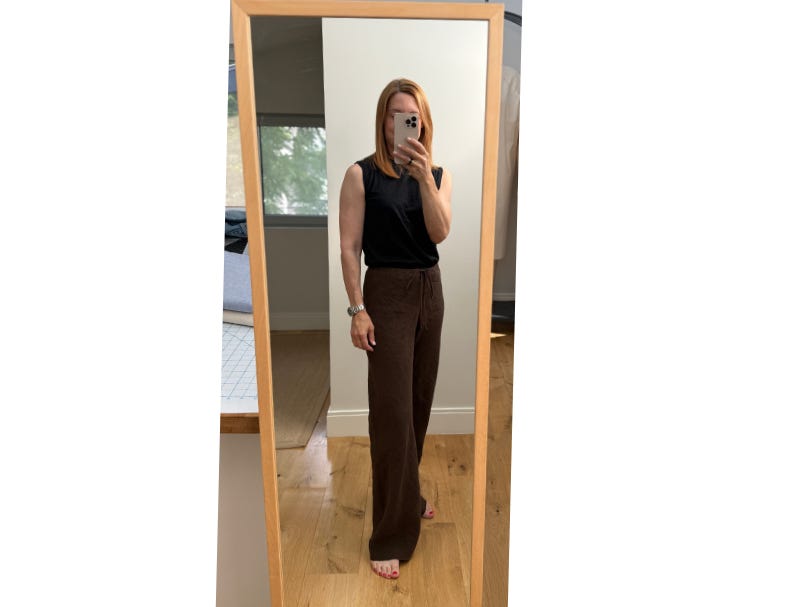
Overall, the pants look nice. They’re lightweight, slimming, and perfect for a hot day.
Do you have any plans to try these pants?
Happy sewing!
Norma
If you enjoyed these project notes, subscribe to receive future sewing notebooks, experiments, and lessons from my studio.
I just finished a pair in 185g linen from Merchant and Mills. I like them, but they feel strange when i move. Like all the other bias garments I've made, i don't fnd them very comfortable. I used her layout. They hang well, and I like the shape. I too used tricot- so much more invisible! And I made my own bias waistband cord, but I sewed it into a rouleau - I dislike the pattern method and very rarely sew straps or anything in that way. I picked up a great trick for joining elastic which is bulk free. You butt the edge up against each other on a piece of fabric and zigzag them to the fabric and trim it. I use scraps of poplin. I started using it when I discovered Banrol non roll waistband elastic - It's fantastic, but the trimmed edges would sometimes annoy me through a looser fabric like linen. The fabric join stops that...
Thanks for this. Ruth Collins (@ithacamaven) and the MPMW substack group have been working on bias cut pant using the TDCO method. Your review is really helpful for those who are planning to make them.